Having the right blanket can can do more than simply keep you warm – it can absolutely improve your sleep. Along these lines I have two things to bring to you today. One is a super easy baby blankie tutorial and the other is a giveaway for a Weighted Blanket.
No Sew Fleece Baby Blankie Tutorial
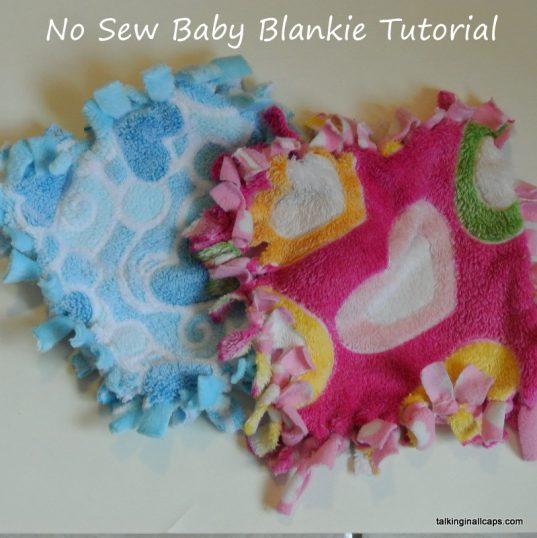
These blankies are cuddly, soft and easy to care for. I like to make them fairly small so they are easy for little ones to carry around and you can make a few of them fairly cheaply. A lovey like a baby blanket or stuffed animal can help babies and toddlers sleep better. It provides a sleep cue, and can provide comfort both at bedtime and other times when they are sad, sick or feeling insecure.
If you want to try to use a blankie as a lovey for your baby, keep it with them while sleeping, and stick it between you and your baby while you are nursing or giving them a bottle. This will help them associate it when feeling calm and secure. I recommend making two or three blankies if you are planning to use them this way with your own kids and rotating them frequently so they develop similar wear patterns. This make it easier for you to wash the blankies and prevent bedtime panic if you can’t find the blankie you baby loves (because you’ll just be able to pull a different one out of the closet).
You Will Need:
- Sharp sissors
- 2 colors or patterns of Fleece fabric (any kind is fine, cuddly fleece is especially fluffy but wears down with multiple washes and lots of love)
Directions:
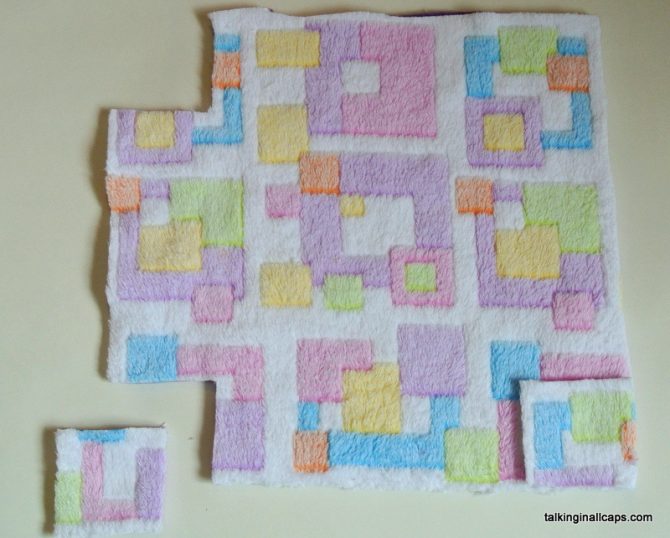
1. Lay your two pieces of fabric on top of each other and cut your fabric in a square or rectangle. You’ll need to cut it larger than you want the final blankie to be.
2. Cut a square of fabric from each corner – cut through both pieces of fabric at once. These do not have to be perfectly even. I usually just eyeball a square and use the first square I cut out as a template for the other corners. For a larger blankie or a full sized blanket, you’ll want these to be about 2 inches x 2 inches. If you are making a small blankie, you can make these smaller about 1/5 of the size of the blankie.
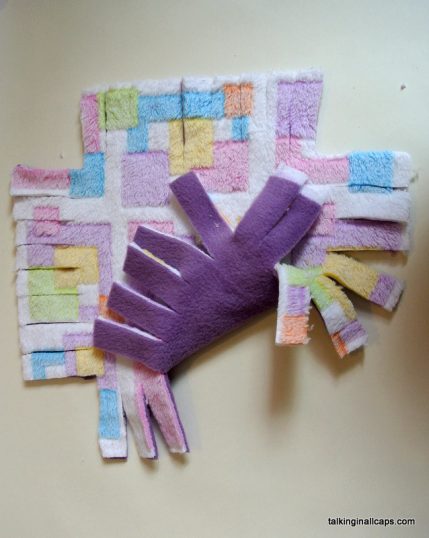
3. Cut strips in the fabric along each edge the same length as the squares. These do not have to be perfectly even in length or width. For most blankies you will want to cut strips about half an inch wide. If you are making a small blankie, you’ll need to make them thinner. In general, you want the strips to be about a third of the width of the squares.
4. Tie the top and bottom fabric in each strip in a double knot. The fabric may have shifted while it was being cut. This may make the top and bottom strips not match up perfectly. It’s okay if they are not even in length as long as you are still able to tie the knot.
5. Throw the blankie in the wash. If you are using a fluffy fleece this will get rid of all the loose fibres. Washing it will also flip the knots so that the bottom fabric shows up on the top of the knot making it really pretty.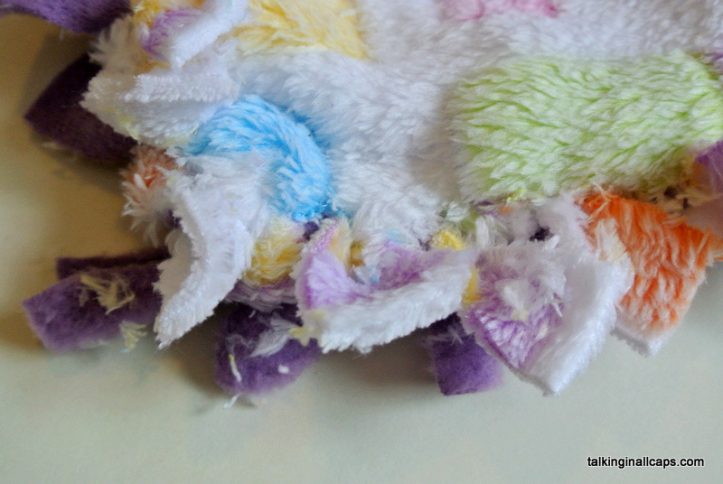
The knots may come untied in the wash or with use but you can just re-knot them.
I love giving these blankies as gifts. Even if they aren’t used as a lovey, they are great to keep warm in carseats and carriers or they can be used for pretend play with dollies or other toys. They have a nice homemade touch but are so easy even I can make them.
Weighted Blanket Giveaway
In similar vein, a friend of mine makes Weighted Blankets right here in Calgary, Alberta. Hippo Hug weighted blankets can improve all kinds of sleep difficulties by providing deep pressure. They can also benefit people with sensory problems, anxiety or restlessness. You can find out more about weighted blankets at hippohug.ca. Hippo Hug is celebrating their 2nd Anniversary by giving away a weighted blanket.
Enter below to win a weighted blanket or animal – a value of up to $265! The contest closes on December 9th. Good luck!
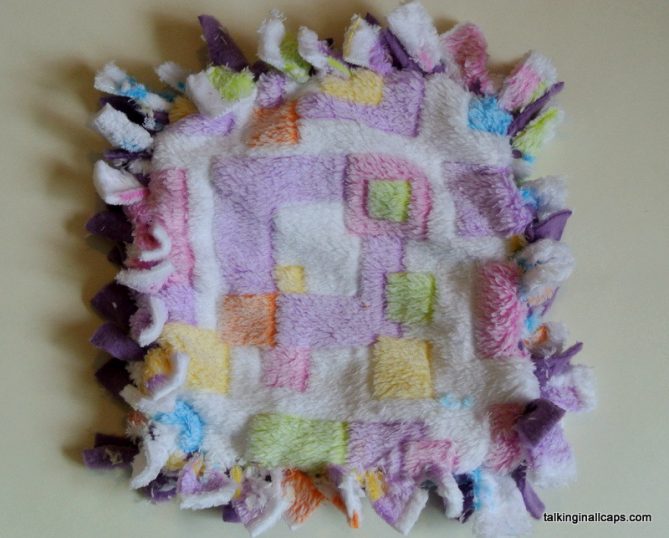
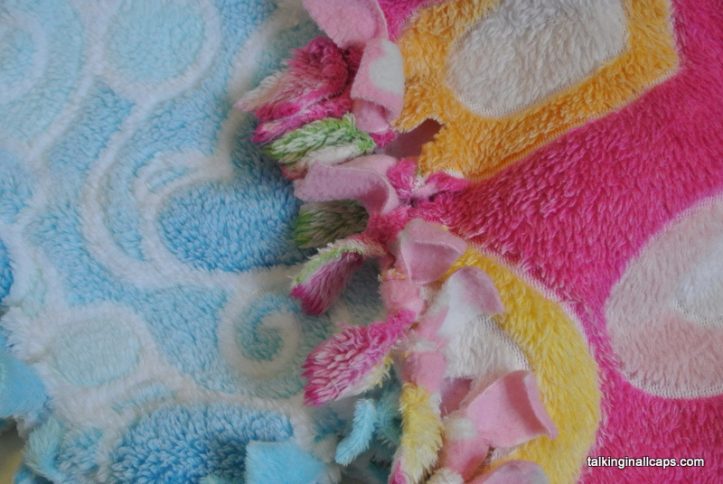

I got one of these from Dana a few years ago, and it’s awesome. It’s the perfect size for a car seat, too!