Google+ talkinginallcaps@gmail.com
  • Skip to primary navigation
  • Skip to main content
  • Skip to primary sidebar
  • Skip to footer

Talking in ALL CAPS

  • Food
    • 52 Salads Recipe Index
    • 52 Soups Recipe Index
  • Photography
  • Travel
    • Travel
    • US National Parks
    • Washington DC
    • Disneyland
  • Thoughts
    • Thoughts
    • Motherhood
    • Parenting
  • Calgary
  • About Me

slider

11 Tips for Taking a Toddler and a Preschooler to Disneyland

January 27, 2014 by danawyyc 14 Comments

Disneyland with a Toddler and a PreschoolerIs It Worth It?

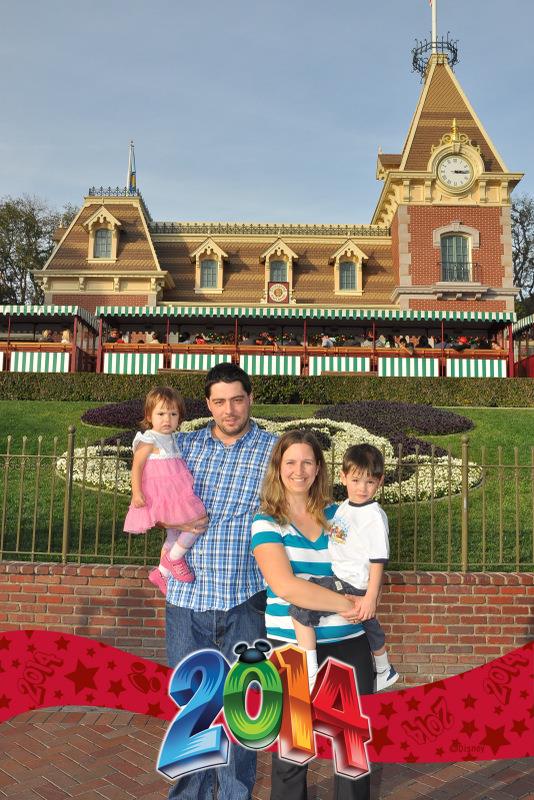
After taking our two kids to Disneyland, the short answer is yes.

I think people have three main concerns about taking their kids to Disneyland when they are little:
1. There won’t be enough for their age level,
2. It will be a lot of work to take them and
3. They won’t remember going.

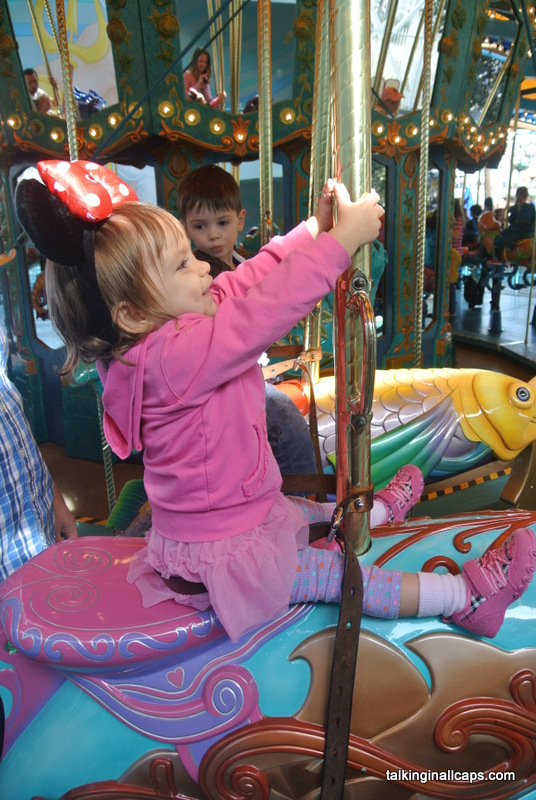
I can say without a doubt that there is a ton for even toddlers to do in Disneyland. Nicky loved meeting the characters and there were a lot of rides we could take her on that she loved. It is a lot of work to take little kids to Disneyland but that’s true of taking them pretty much anywhere. I found the hardest most exhausting part for me was the plane ride. Gordie is old enough so he will probably remember a little bit about going to Disneyland for the first time, but Nicky won’t. But that’s true of wherever you take them when they are small. If you are only planning on taking them once, it might make sense to wait but otherwise, there is no harm. I totally enjoyed the experience of taking little kids to Disneyland and they had an amazing time too. Everything is so magical when they are little and no one does magical better than Disneyland.  I would do it again in a heartbeat.

1531648_10153689564545573_1969247732_n

11 Tips for Taking a Toddler and a Preschooler to Disneyland

1. Strollers and Carriers

Even if your preschooler doesn’t normally need a stroller anymore there is a good chance that you will find one helpful in Disneyland. Disneyland is big and you can end up doing a lot of walking in a day. Being able to put your preschooler in  stroller can also make it quicker to get from one place to another and save more of their energy for doing fun things instead of walking from place to place. Unless you really need it, I wouldn’t recommend a double stroller though because it’ll make it hard to get through the crowds. Depending on the type of stroller you have a Stroller clip or carabiner can be useful.

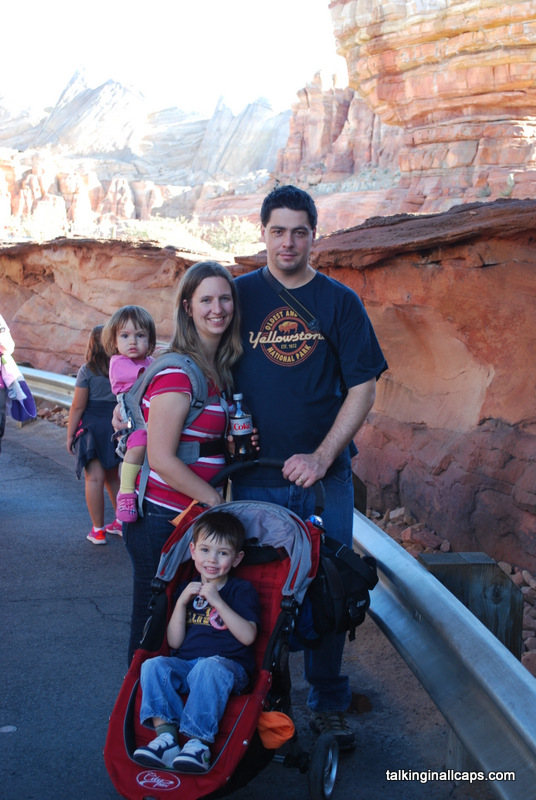
What worked for us is taking a smaller stroller (we used the Baby Jogger City Mini) that in a pinch both kids can sit in with the seat reclined and a couple of baby carriers. Gordie was under the weather for part of our trip so he ended up using the stroller even more than we had expected. I was really grateful to have the baby carriers (I had an Ergo and a wrap) that I could use with Nicky. They also saved my arms from having to carry Nicky around the park when she was feeling a little overwhelmed.
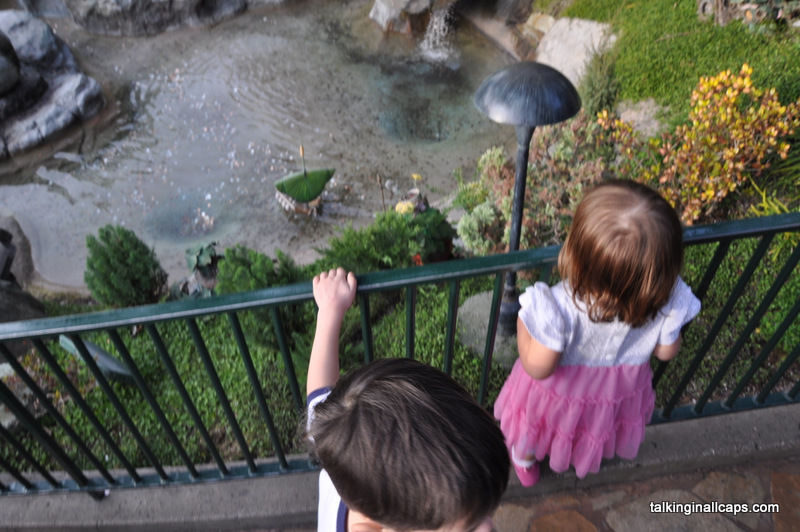
Disneyland with a Toddler and a Preschooler

2. Don’t Rush

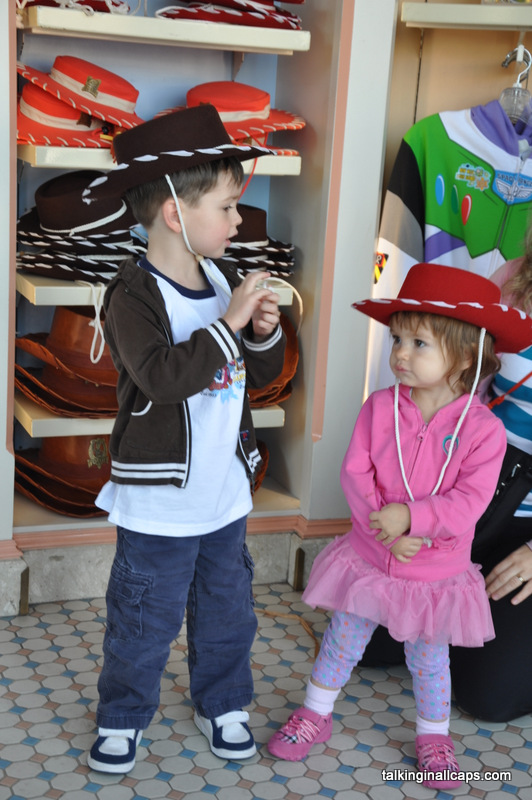
There is so much to see and do in Disneyland you can easily find yourself hurrying through the park trying to do as much as you can. As tempting as that can be, your kids won’t thank you for it in the end. No matter how efficient you try to be, you are going to leave with things you’d like to do still on your list. You and your kids will have a better time if you leave some breathing room in your day. Stop and try on some silly hats, hang around on main street enjoying a treat or let your kids push all the buttons they can find in Toontown. Going a bit slower also opens you up to seeing musical performers or characters that pop up around the park that you would miss if you were rushing through.

Disneyland with a Toddler and a Preschooler

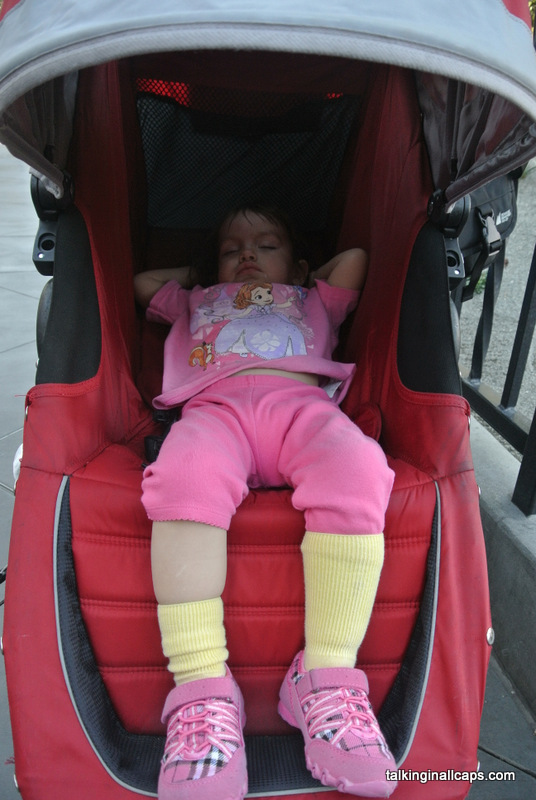
3. Plan to Nap on the Go

Even if you are staying at one of the Disneyland hotels, going back to the hotel for an hour nap is going to take more than twice that amount of time out of your day. On top of that, your little one may not fall asleep as quickly as they do at home (or even at all). Plan to have your child nap on the go – a stroller that reclines with a large sunshade is helpful for this or a carrier that you can comfortably wear while they nap. Even if your child only naps at home, they will likely fall asleep at some point during the day – probably a bit later than usual. Nicky has only napped at home for months but still had a shortened nap every day we were in the park either in the stroller or the carrier.

At the same time, don’t be afraid to go back to the hotel for a rest if your kids really need it. Even the nearby non-disneyland hotels are close enough to take a mid-day break if necessary.

Disneyland with a Toddler and a Preschooler

4. Say Yes Sometimes

You are inevitably going to spend a lot of time in Disneyland saying no – toys, treats, and more are everywhere. Saying no is necessary but don’t forget to yes sometimes too. Go the ride for a second time, change your plans and do something that caught your kid’s eye on the way, buy a silly hat or get them a ridiculous light up toy that you would never buy if you were at home. It’s okay to indulge them a little and it can be a lot of fun too.

Disneyland with a Toddler and a Preschooler

5. Recognize When They Are Done Even If You Are Not

At some point during the day your kids are going to crash. Especially if you only have a day or two in Disneyland this my be long before you were hoping to leave the park. Try to recognize when they have had enough and leave wanting more instead of doing one more thing.

Disneyland with a Toddler and a Preschooler

6. Let Them Walk in Line

Your first instinct may be to try to contain your kids while they are in the line, but letting them walk for as least some of the line can help make the wait go faster. Obviously you don’t want them to be disruptive, but you are not going to be the only parent dealing with restless kids. Disney recognizes this too –  newer lines often have different things to look at and a lot of room to move around without having to worry about your kids getting lost. The Pixie Hollow line is a great example as you go through the line you can look for all the different fairy statues.

Disneyland with a Toddler and a Preschooler

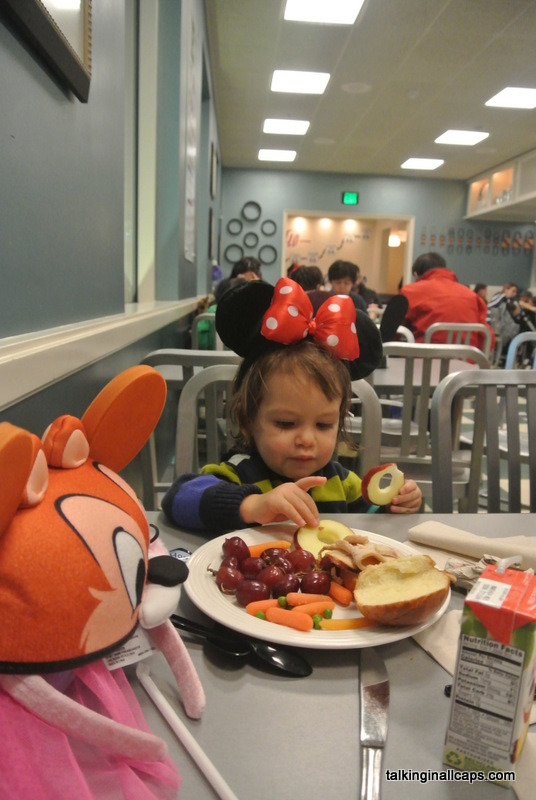
7. Bring Snacks and Refillable Drinking Cups

The food at the Disneyland Resort isn’t cheap but the items with the highest mark up is the snacks and drinks. There are lots of fountains throughout the park where you can refill water bottles. Having snacks and drinks on hand can help prevent hangry (hungry angry) children, save time and save you money too. If you do need to buy snacks in addition to the treat carts they have carts with healthier options, like fruit and hummus and crackers. They have also recently improved their menu to include healthier options and less fried food.

Disneyland with a Toddler and a Preschooler

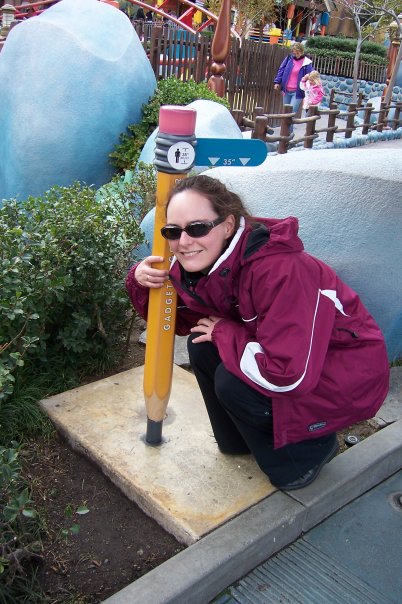
8. A Ride’s Height Requirement Does Not Indicate Age Appropriateness

The height requirement of the rides in Disneyland are there for safety reasons. The rides may still be more thrilling or spooky than is appropriate for your child. For instance the Pirates of the Caribbean Ride and the Haunted Mansion both have no height restriction. Babies and toddlers may not have a problem on these rides but they may scare preschoolers. We took Nicky (21 months) and Gordie (4.5) on Pirates of the Caribbean and he declared that he did not want to go on that ride again ever. Not ever.

Disneyland with a Toddler and a Preschooler

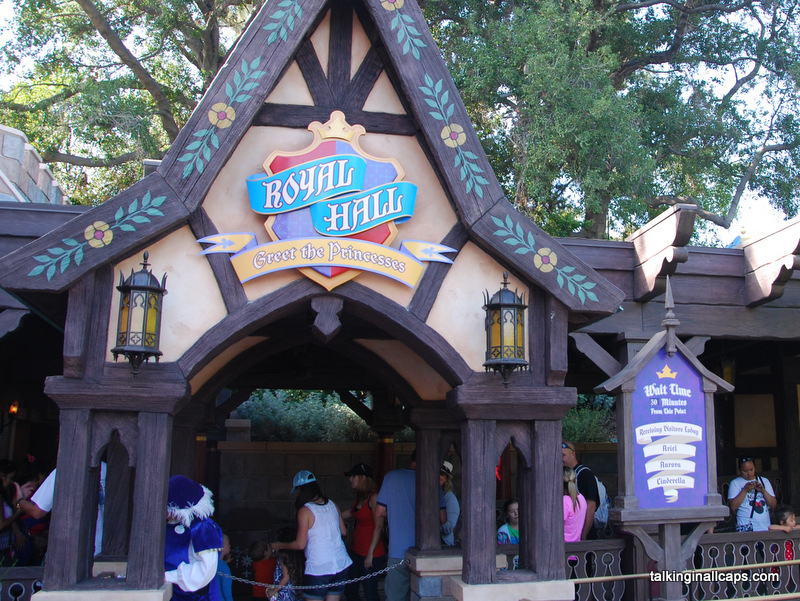
9. Pay Attention to the Expected Wait Times

Each ride and attraction with have a sign out front telling you the expected wait time. In general they are pretty accurate although sometimes they seem to over state a ride’s wait time. Expect the character greet wait times to be accurate even if the line seems short. The lines go slowly – they let you take your time with the characters and don’t rush you.

Wait times can range from 5 minutes to over an hour. If you see a ride or attraction that your family wants to go on with a less than 20 minute wait go on it right away. If you come back later the line may be longer. I found that my kids could handle a line with a maximum wait time of about 40 minutes. If the line was longer than that we just moved on and I chose carefully for which rides or attractions we were willing to wait that long for.

Disneyland with a Toddler and a Preschooler

10. Talk to Cast Members

Finally, don’t forget to talk to the cast members. They can help you find the closest washroom, nearest place to buy a new shirt and help you decide whether a particular ride is right for your child. Even if you don’t need something specific, you might stumble on a great experience that you would have otherwise missed just by striking up a conversation.

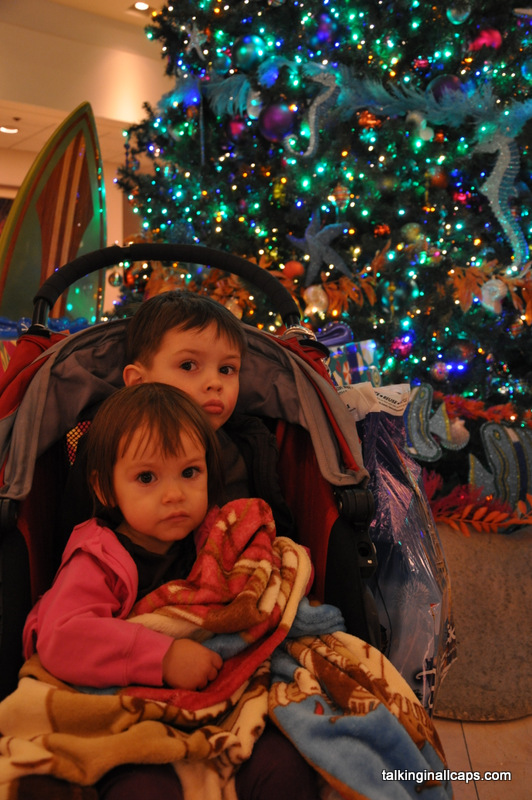
11. Dress for the Weather

Disneyland can be quite warm and sunny even in December so don’t forget your hat, sunglasses and sunscreen. However, it cools down a lot when the sun goes down. This was around 5pm when we were there in late December/Early January. Think about bringing along light jackets and a blanket even if you won’t need them for most of the day. You can also buy all of these things at the park if you forget something.

You may also want to read the other Disneyland Travel posts I have written:

  • Practical Penny Pinching in Disneyland
  • 6 Tips for Going to Disneyland with a Big Group
  • The Shy or Cautious Kid’s Guide to Disneyland
  • Going to Disneyland with Someone Who has Special Needs
  • Disneyland Photography Tips – 11 Tips for Getting Great Photos of your Disneyland Vacation

I have also written up an overviews of Disneyland Park and Disneyland’s California Adventure Park on my other blog, Calgary Playground Review.

Filed Under: Disneyland, Popular Posts, travel Tagged With: slider

Salad #33 – Mexican Street Corn Inspired Quinoa and Corn Salad

September 22, 2013 by danawyyc 6 Comments

Mexican Street Corn Inspired Quinoa and Corn Salad

I’ve been seeing recipes for Mexican street corn popping up on pinterest lately. I ended up with some extra roasted corn after making this salad so I decided to try to make a salad version. This recipe probably does not have much in common with the kind of corn you might actually get on the street, but it is super good nonetheless. Even my relatives who are not keen on spicy food liked this recipe although I did try to keep it pretty mild.

Mexican Street Corn Inspired Quinoa and Corn Salad Recipe

(inspired by this Mexican Street Corn recipe and this Mexican Corn and Quinoa salad recipe)

Print
Salad #33 - Mexican Street Corn Inspired Quinoa and Corn Salad
 
Ingredients
  • 2 cups cooked red or white quinoa
  • 2  ears grilled corn cut from the cob (or you could just use frozen kernel corn or roast the corn in the oven)
  • squirt of sriracha sauce (or other hot sauce)
  • 1 lime, juiced (optional)
  • 1-2 tablespoons feta cheese, crumbled (optional)
  • chili powder to taste
  • 1 TBSP of mayo
  • drizzle of olive oil
  • salt and pepper to taste
  • 1 handful cilantro, chopped (optional)
Instructions
  1. Mix up the mayo, olive oil, chili powder, salt and pepper (and lime if using).
  2. Mix the dressing with the quinoa, corn, a squirt of sriracha sauce (and the feta and cilantro if using).
  3. Adjust the heat as you like with the chili powder and sriracha sauce.
  4. Best served at room temperature, but generally just delicious.
3.2.2925

Mexican Street Corn Inspired Quinoa and Corn Salad

Did They Eat It?

Stephen: Really good. Mint might be good in it too.

Richard – I liked that and I’m not into spicy foods. Enough to liven it up.

Deb – Nice side dish. Healthy and spicy.

Nicky (1.5 years) – liked the salad and didn’t mind the heat.

Gordie (4.5 years) – refused to try it. Was upset that the corn looked burnt so wouldn’t try that either.

Dana – This was even better than I had expected.

Mexican Street Corn Inspired Quinoa and Corn Salad


Filed Under: 52 Salads, Food, Recipes, Salads, Side Dishes, Vegetarian Tagged With: corn, quinoa, slider

Taking Pictures of Kids in the Snow–Photo Tips

October 26, 2012 by danawyyc 3 Comments

Learning to Use my DSLR – Practical Photography Tutorials

Equipment Used in this Tutorial: Nikon D90, 18-105mm Lens

I had intended on doing my first tutorial on positioning yourself, your light source and your subject but instead it snowed a ton and was overcast. So instead, I decided I’ll try to figure out some tricks to improve my snow photographs. Which should come in super useful considering it is only the end of October.

After looking around, I found a three of suggestions that I thought I would try out: manipulating the exposure bias, white balance and the metering mode. The idea is that these will in turn make the snow less grey, make your photo less blue and make your camera more accurate when balancing the light by focusing on the subject rather than the whole scene.

The first thing that I had to do was set my camera to a programmable setting. On my Nikon D90 at least I can’t change the exposure bias on the auto setting.

Here’s a shot taken with the Auto setting:

Auto
Auto Setting

One of my Nikon photography books suggests that the Aperture Priority setting (shown on the camera below) would be appropriate if the scene is well lit which is was, so that’s what I used. Here’s one taken with the Aperture Priority setting before I changed any dials.
Aperature Priority
Aperture Priority Setting

I think the photo taken on the automatic setting looks a little better than the one taken with the Aperture Priority Setting but I was hoping to figure out how to improve upon that.

Exposure Bias: Making your snow look less grey

One of the difficulties with photographing snow, is that because everything is so white, your camera will try to balance this out by making the snow look grey. When you manipulate the exposure bias, you are either overexposing or underexposing your photos. For snow you want to over expose your photos a little bit by adjusting it to something like +1.

I tried this out in the photos below:

Aperature Priority Exposure -1
Exposure Bias 0                                        Exposure Bias -1

Exposure +1 Exposure Bias +2
Exposure Bias +1                                      Exposure Bias +2

I swear these are all separate photos. Nicole was a little surly about being outside in the snow. She has not found it to be very much fun so far. The first time we were out she tried to army crawl and got a face full of snow. She was not impressed.

Anyway, you can see the snow in the +1 exposure bias setting looks a lot whiter than the 0 or –1 setting. Even the +2 setting looks pretty good. You lose a lot of the definition in the snow but it makes for a striking photograph.

Here’s a couple more examples of manipulating the exposure bias:
0 Cloudy
Exposure Bias 0

1, Cloudy
Exposure Bias +1

0 Cloudy  1 Cloudy
Exposure Bias 0                                       Exposure Bias +1

I thought this change made a definite improvement in my photos. I would recommend giving it a try for sure.

White Balance – Making the snow look less blue

The second suggestion I decided to try was manipulating the white balance. Snow photos tend to have a blueish tinge and so either a flash or cloud setting was recommended to even that out. (Not that you want yellowy snow, just less blue).

In the first 3 photos below you can see what happened when I manipulated the white balance setting. In the last setting I compared them to one where I manipulated the exposure bias like I did above.

Aperature Priority Exposure Bias 0, White Balance Flash
Exposure Bias 0, White balance auto         Exposure Bias 0, White balance flash

Exposure Bias 0, White Balance Cloudy Exposure Bias 1, White Balance Auto
Exposure Bias 0, White balance cloudy       Exposure Bias +1 White balance auto

Although I can see differences between the white balance settings, I have a hard time picking out a winner. Manipulating the exposure bias made a much bigger difference in my photos. Based on these, I would probably only try manipulating the white balance if I was finding my photos were having a blue tinge.

Here’s another examples of manipulating the white balance, this time with the Exposure Bias adjusted to +1:

1 Auto
White Balance Auto

1 Cloudy
White Balance Cloudy

1 Flash
White Balance Flash

This time I think the colors in the cloudy setting might be a bit better.

Metering Mode – to let your camera better adjust the light levels

The auto setting for my camera is a matrix metering mode, where light information from the whole scene is used to determine the exposure of your photo. This can sometimes be problematic if the scene is too bright (as snow can often be) because your camera doesn’t know what you want to be the focus of your photograph. You can tell your camera to use a specific area of your photo to determine the exposure by using spot metering.

In the following three photos I tried out the three metering setting on my camera, Matrix, Center Weight and Spot:

AP Matrix, 0, Auto
Matrix Metering

AP, Metering - Center Weight AP, 0, Auto, Spot
Center Weight Metering                             Spot Metering

Here I think the Matrix Metering was the best. I suspect that Because it was overcast the snow wasn’t bright enough to make this manipulation worthwhile. It’s also worth noting that on my camera spot metering was the default in Aperture Priority mode so that probably accounts for why in my initial two photographs the one taken on the auto setting was a bit better.

Showing Off My New Skills

1 Auto
Exposure Bias +1, Auto White Balance

DSC_0461
Exposure Bias +1, White Balance Cloudy

How to Make the Adjustments

The instructions below are specific to the Nikon D90. Your camera may use different controls – I recommend searching for your camera and the control you want to manipulate on http://www.dummies.com or looking in your manual if you need more specific instructions on the controls for your camera.

d90-top_snowpics

d90-back_snowpics
Original Nikon D90 Photos by Nikon

1. Adjusting the Exposure Bias
Hold down the Exposure Bias button (+/-) on the top of the camera and use the scroll wheel to choose the exposure bias you want. You will see the setting in the display window on the top of your camera.

2. Adjusting the White Balance
Hold down the White Balance Button (WB) on the back of the camera and use the scroll wheel to choose the white balance you want. You will see the setting in the display window on the top of your camera. On my camera the Automatic setting is and A, the flash setting is a lightening bolt and the Cloud setting looks like a dark cloud.

3. Adjusting the Metering Mode
Hold down the Metering Mode Button on the top of the camera and use the scroll wheel to select the mode you want. will see the setting in the display window on the top of your camera. The single point mode looks like a single dot, centering weight is a dot surrounded by parentheses and matrix mode looks like a dot with a border around it.

Sources used for this article:

http://www.geofflawrence.com/snow.html

http://www.shotaddict.com/tips/article_Main+Things+To+Know+About+Winter+Shooting.html

http://www.dummies.com/how-to/content/understanding-all-the-nikon-d90s-controls.html

Nikon D3200 From Snapshots to Great Shots by Rob Sylvan

Filed Under: photography Tagged With: feature, slider

Primary Sidebar

About Me

I'm an experiential playground expert and mom to three young kids. I live with my husband in Calgary, Alberta, Canada. When I'm not looking after people, I'm reading all the YA fiction I can get my hands on and am attempting to learn photography. My laundry-folding suffers due to more interesting pursuits.

You can also find me over at:
12 Great Salads to Take to a Potluck or Feed a Big Group - talkinginallcaps.com

11 Great Salads to Take to a Potluck or Feed a Big Group

Sriracha tomato soup - easy meals - talkinginallcaps.com

12 Easy Meals That are Great for One or Two (or more!)

Asian Lentil and Mango Salad 3

Salad #49 – Asian Lentil and Mango Salad

Kale, Quinoa and Black Bean Salad

Salad #42 – Kale, Quinoa and Black Bean Salad

Disneyland Photography Tips - 11 Tips for Getting Great Photos Your Family Will Treasure

Disneyland Photography Tips – 11 Tips for Getting Great Photos of Your Disneyland Vacation

11 Tips for Taking a Toddler and a Preschooler to Disneyland

Categories

Archives

Footer

Copyright © 2025 · Foodie Pro Theme by Shay Bocks · Built on the Genesis Framework · Powered by WordPress