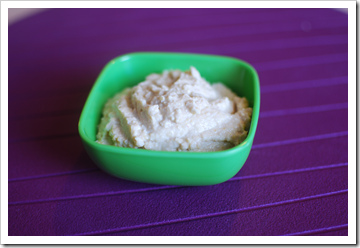
Peanut Butter Hummus
Ingredients
- ¼ teaspoon Garlic powder
- ¼ cup Lemon juice
- ¼ cup Water (more if needed)
- 1 can (16 oz) Chickpeas ; rinsed and drained
- 4 Tbsp Peanut Butter (I just used a big spoon)
- 1 teaspoon Sea salt
Instructions
- Drain and rinse the chickpeas.
- Add all the ingredients to the food processor (you can use a blender, but it’s not really not as effective. I have tried and don’t recommend it. I ended up buying a food processor so I could make hummus).
- Run the food processor until the hummus starts to appear to bounce up and down (this won’t take a really long time) . Alternatively just check it every 10 seconds or so. You’ll want to scrape off the sides of the food processor because I find some chickpeas tend to stick to the sides and then give it another quick blend. If you are finding it’s not as well mixed or creamy as you would like just add another ¼ cup of water.
It’s funny how much how something is presented can change your attitude towards it. I’ve seen recipes for hummus that suggested you could substitute tahini with peanut butter on multiple occasions and I always thought that was kind of lame. Okay if you lived somewhere that you really couldn’t find any tahini, fine but otherwise?
Then one day my mom sent me a recipe for peanut butter hummus. Peanut butter hummus? Brilliant! Now I realize that this is actually the same thing that I previously thought was lame, but somehow now it sounds interesting and different instead of a cop out.
It’s pretty good too. The peanut butter taste isn’t overpowering but if your kid is a little adverse to hummus, this may be enough to win them over.


Cooking with the Kids
The kids can:
- Measure and pour the ingredients
- Rinse the chickpeas and put them in the food processor
- Run the food processor (with supervision)

Per 1/8 of the hummus: Calories – 81, Carbs – 7g, Fat – 5g, Protein 4, Fibre – 2


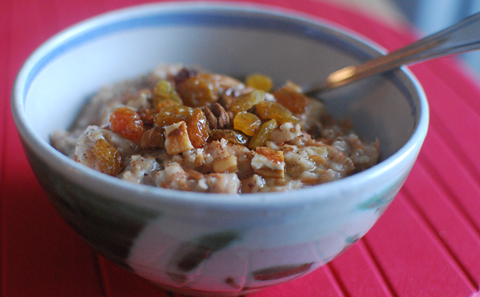


 This was my first attempt at cooking Farro. I found that there was still quite a bit of water left in the pot when I cooked it according to the package directions (3 cups water to 1 cup Farro for 15 minutes), so I cooked it a little longer and ultimately drained it. After some internet research, I found out this is actually normal. Unlike rice all the water is not supposed to be absorbed when it’s finished cooking. It’s chewier than rice but it did soften a bit after the salad had sat in the fridge overnight. Trying a grain all by itself is kind of boring so I put together this salad which I think is pretty good.

